
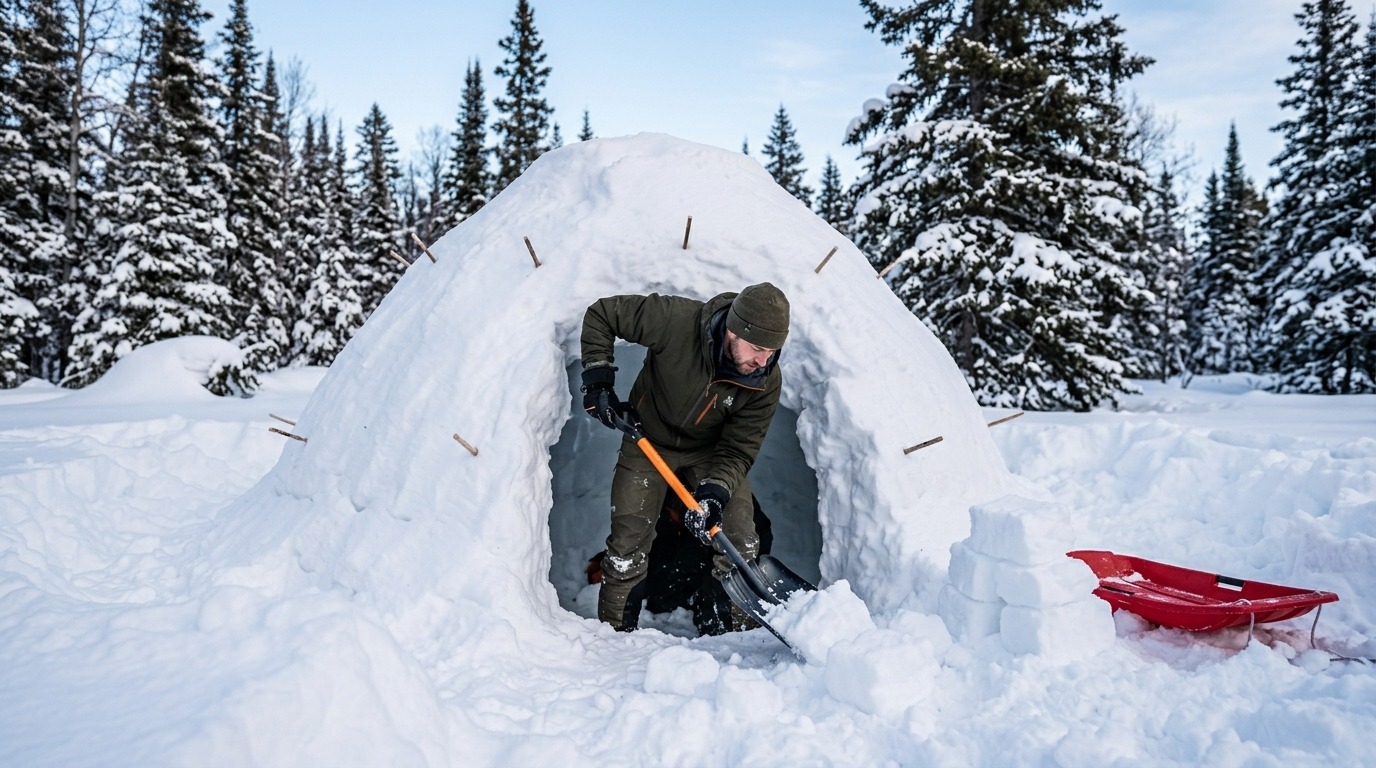

How to Build a Quinzhee Snow Shelter for Canadian Winter Camping
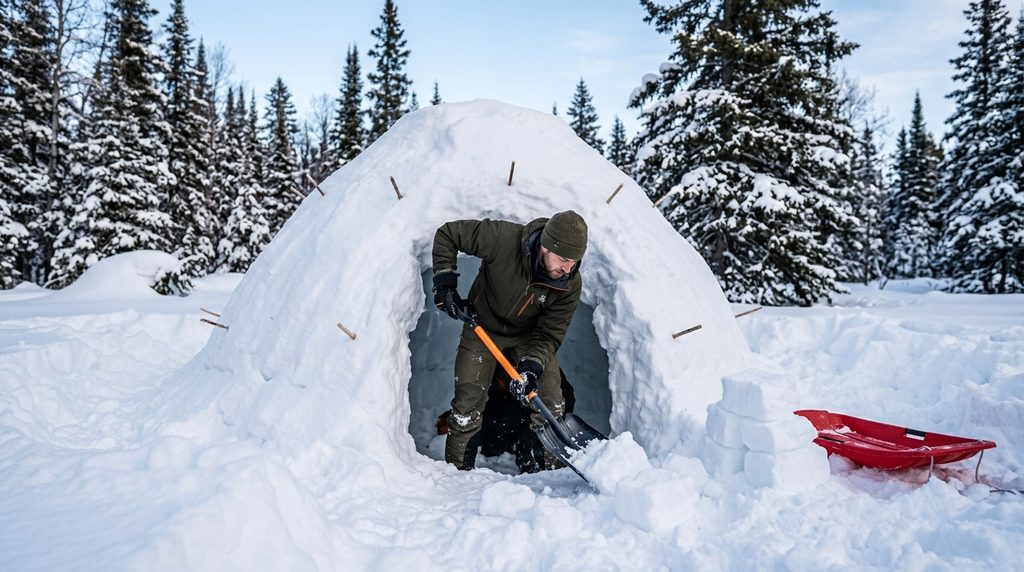
When winter camping in the Canadian backcountry, staying warm and sheltered from freezing winds is your top priority. While igloos require hard, packed snow blocks and advanced carving techniques, a quinzhee offers the same life-saving thermal protection using simple, loose snow.
Whether you are practicing wilderness survival techniques or looking for a fun winter building project with kids, building a quinzhee is one of the most effective skills in winter Bushcraft.
Below is your complete, step-by-step field guide to building a safe and warm quinzhee snow shelter.
🎬 Watch the Full Video Tutorial
Before diving into the steps, watch our field breakdown on how we mound, sinter, and excavation-guide a quinzhee in the Canadian woods:
Video: Winter Shelter : Quinzhee by Occasionally Outdoors
What is a Quinzhee? (And When is It Safe?)
A quinzhee (pronounced kwin-zee) is a temporary snow shelter constructed by piling loose snow into a mound, allowing it to sinter (freeze solid), and then digging out the inside to create a hollow dome living area.
Critical Safety Rules:
- Temporary Use Only: Unlike traditional igloos meant for seasonal living, quinzhees are emergency or short-term shelters.
- Temperature Threshold: Never construct or sleep inside a quinzhee when ambient temperatures rise above -4 degrees Celsius. Warm temperatures compromise structural integrity and increase collapse risks.
- Keep It Small: In winter survival situations, smaller is warmer. Large interiors trap excessive dead air that single-person body heat cannot adequately warm.
Step 1: Layout & Mounding the Snow
Start by laying out your perimeter on the ground. Using trekking poles, lay out a clear pattern in the snow to avoid piling more snow than necessary [00:46].
Pile loose snow into a large dome shape. Mixing snow layers during piling creates friction and releases moisture between snow crystals [00:16].
Step 2: Sintering (The Critical Waiting Period)
Once your mound is complete, let it sit untouched for 2 to 3 hours [00:28].
During this period—known as sintering—the moisture across the disturbed snow homogenizes and refreezes, bonding the loose powder into a hard, rigid shell capable of supporting excavation [00:16].
Step 3: Insert Guide Sticks for Wall Thickness
Before digging, collect 12 to 20 thin sticks (approximately 12 inches long) and insert them all around the outside of your snow dome [05:01].
These act as thickness indicators while you dig out the interior in the dark [05:01]:
- Base Wall Thickness: 24 inches (60 cm) [04:52]
- Mid-Wall Thickness: 12 inches (30 cm) [04:52]
- Top Dome Thickness: 8 inches (20 cm) [04:52]
When excavating from the inside, stop digging as soon as you hit the tips of your guide sticks poking through the snow wall [05:42].
Step 4: Excavating & Managing Cold Air
- Door Placement: Dig your entrance door on the side facing away from prevailing winds [05:20]. Build a curved or winding snow wall in front of the door entrance to block shifting wind drafts [05:26].
- Hollowing Out: Use a compact camp shovel or snow sled to haul out snow blocks as you dig [05:31]. Pulling a cargo sled in and out behind you speeds up debris removal [05:38].
- Smooth the Walls: Smooth out all internal ceiling surfaces [06:02]. Rough snow surfaces create drip points, while smooth domes channel condensation harmlessly down the side walls [06:02].
- Cold Sump & Moisture Trench: Dig a small 6 to 8-inch deep groove around the base of the interior floor [06:09]. This groove catches wall condensation runoff and acts as a cold air sump, letting heavy cold air settle below your elevated sleeping platform [06:16].
- Sealing the Entrance: Block the main entrance using a toboggan, cargo sled, or dense pine/cedar boughs to seal out wind while maintaining airflow [06:34].
📊 Quinzhee Architecture Overview
Here is a visual breakdown of key quinzhee specifications:
❄️ Essential Gear for Winter Backcountry Camping
Constructing a quinzhee requires the right winter equipment to prevent dampness and cold exposure while digging:
- 🏕️ Cold-Ground Sleep Systems: Block ground cold inside your shelter with high R-value Insulated Sleeping Pads & Sleep Systems.
- ⛺ Winter Shelters & Tarps: Pair your quinzhee setup with backup 3-Season & Backcountry Tents.
- 🍳 Melting Snow & Trail Cooking: Convert snow into drinking water quickly with high-output Camp Stoves & Kitchen Gear.
❓ Frequently Asked Questions
What is the difference between an igloo and a quinzhee?
An igloo is constructed from dense, hard blocks of wind-packed snow stacked in a spiral, designed as a long-term or seasonal shelter. A quinzhee is built by mounding loose snow, letting it freeze (sinter), and digging out the center. It is much easier to build than an igloo but serves as a temporary shelter.
How long does it take snow to sinter for a quinzhee?
Snow requires approximately 2 to 3 hours to sinter after mounding [00:28]. Sintering allows friction and ambient cold to bind disturbed snow crystals into a solid structure [00:16].
Are quinzhee snow shelters safe?
Quinzhees are safe when temperatures remain below -4 degrees Celsius and walls maintain proper thickness guidelines (12 to 24 inches) [02:54, 04:52]. They should never be used in thawing conditions above -4 degrees Celsius due to structural collapse risks [02:54].
